Step 1 Use your embossing buddy first then used the Versa Mark on the stamp.
Stamp this out 3 times don't forget to use Versa Mark each time on watercolour Paper.
this is for your first card
 Step 2 Using Black embossing powder over your stamp image
 Step 3 Clean up Powder Pal put black powder back into jar
Step 4 Using your heat tool emboss image.

Step 5 should have 3 image like in photo below
 Step 6 Using your Aqua Painter and Watercolour Wonder Crayons fill in all image es
 Step 7 Should look like photo below
 Step 8 Vesa Mark next stamp this is for your second card
 Step 9 Use embossing Buddy
 Step 10 Stamp onto Water Colour Paper
Step 11 use black embossing powder
 Step 12 use heat tool
Step 13 Use Aqua Painter and water Color Crayons
 Step 14 should look like photo below
 Step 15 cut out around image
Step 16 cut out next image
 Step 17 Cut your card to 27cm x 10cm and fold in half Using the crimp er
 Using Stampin' Dimensional on the back of the 2nd image like in the photo below.
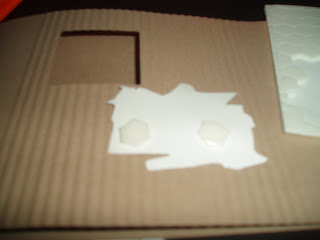
Step 20 using Stampin' spots
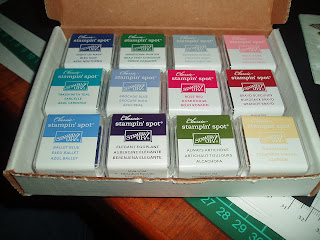
Step 21 Pick out the color you wont to use and run the stampin' spot over the crimp side of the card Step 22 Place your first image down of your 3 D as you can see in the photo below
 Step 23 Place your second image down over the top of your first image
  as you can see in the photo below I have just done the front boot and dog
Step 24 add your third image and as you can see this time I have just done the head
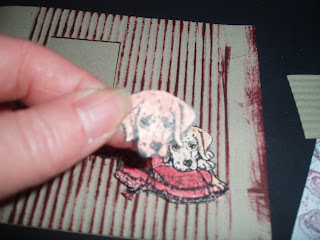
now your card should look like the photo below
 Step 25 Using Ribbon Original Thater
 Step 26 using the for you out of the stamp set Say It with Scallops and then crimp
 looks like photo below
 Step27 using your black marker run over the words
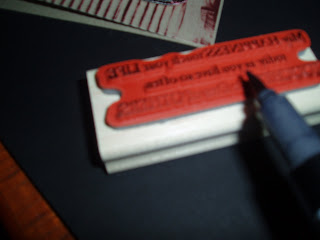
will look like the photo below
 Using the Ribbon from Theater I have gone with the brown and tied around the side as show en in the photo below now my card is finished . Book into January class and have fun and you two can make this.Ring me today don't miss out filling fast.
 Second Card cut around your image as you can see in photo below
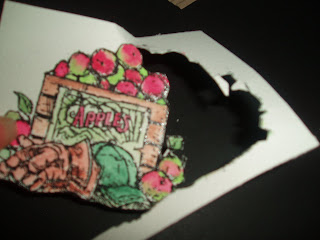
Using some Hodgepodge Hardware
 pick out your word stamp then you can use a hodgepodge piece as you can see I have in the photo below I have also used the paper-piercing tool so I can insert the brads
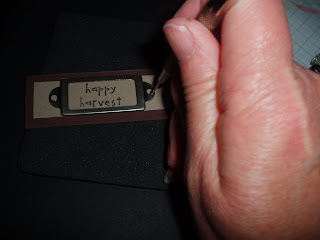
inserted brads

Step 20 using Stampin' spots

Step 21 Pick out the color you wont to use and run the stampin' spot over the crimp side of the card
 Step 22 Place your first image down of your 3 D as you can see in the photo below
 Step 23 Place your second image down over the top of your first image
  as you can see in the photo below I have just done the front boot and dog
Step 24 add your third image and as you can see this time I have just done the head

now your card should look like the photo below
 Step 25 Using Ribbon Original Thater
 Step 26 using the for you out of the stamp set Say It with Scallops and then crimp
 looks like photo below
 Step27 using your black marker run over the words
will look like the photo below
 Using the Ribbon from Theater I have gone with the brown and tied around the side as show en in the photo below now my card is finished . Book into January class and have fun and you two can make this.Ring me today don't miss out filling fast.
 Second Card cut around your image as you can see in photo below
Using some Hodgepodge Hardware
 pick out your word stamp then you can use a hodgepodge piece as you can see I have in the photo below I have also used the paper-piercing tool so I can insert the brads
inserted brads


No comments:
Post a Comment