Tuesday, February 16, 2010

Have you heard what customers are saying

Card 1 This is Basic Black Card Stock one A4 Piece cut at 10.5 cm x 29.5 cm then fold down using a bone folder
Step 2 Cut your Pink Pirouette card at 10cm x 14.5 cm and snail onto your black card
Step 3 Cut one Basic Black card 7.5cm x 13.5 cm and snail down to the left of the card
Step 4 Cut one Pink Pirouette card at 7cm x 12.8 cm and using the eyelet border punch along one side then snal to card
Step 5 Cut one Basic Black Card 10.5 cm x 7 cm this will be snail to the right of the card
Step 6 Cut one whisper white card 10 x 6.5 cm using the paper-piercing pad and templatr and tool around the whisper white card


Linda using aqua painter and watercolor wonder crayons
Have you heard what customers are saying?

This is what Lyn Dwyer loved to say about her first class . I was delighted to have been invited to my first Stampin' Up! Class today at Neralees house in Bairnsdale. Teresa taught us how to create 3 fun and gorgeous Valentine Cards. I was very impressed with the quality of the stamps and punches that we used. I learned some fabulous new stamping techniques such as huffing on the in between stamping. The class was a great opportunity to socialise and make new friends. Just loved it!
Thanks Teresa & thanks to Neralee for inviting me!

This is what Linda Brown loved to share with you all. I loved making the Valentines Card and
am always amazed that I can achieve such good results - especially as I am not very arty!
Teresa is such a good and patient teacher who show us such fabulous ideas and techniques - that's why I just keep coming back.

It was great to get back into the party (Class ) mode.
We made 3 cards, one of which had the Sweet Treat Cups really good, you could make some nifty cards. Thanks Teresa Julie

Samone is sometimes suprised. At every class I learn something new and sometimes I actually suprise myself and manage to duplicate the cards at home Teresa is a great Teacher Stampin' Up! Demonstrator -VERY PATIENT. Thanks Teresa
Dose your wish list change after every class? I an constantly blown away with the ideas Teresa Keeps coming up with Her ideas are fresh, fun and new also show ways to apply some at the older products that we have previously purchased. My list wish just grows. A fun day not to be missed. Kaye
Jenny and Neralee we just love having Teresa drive all the way from Warragul to Bairnsdale with her fabulous new creations .Every visit Its also great to catch up with all our card making friends for a show & tell session to see what we have done with the products

Customer become treasured friends I must say the one thing I love about Being a Stampin' Up! Independent Demonstrator Is finding friend Like you all and Thank you all for invite me into your homes month after month. I love to Stamp make cards and Scrapbook and the best is to share with you see you at a class or workshop Happy Stamping Teresa X

Have you heard what customers are saying

Thanks Noeleen for a great workshop up at Mirboo so nice to be with you all.

This is a Flattened loaf it was the most delicious unusual roast sandwich I have ever eaten but was perfect thanks Noeleen for sharing how to make this as you can see in the photo below.

Ladies just look at this great lunch .
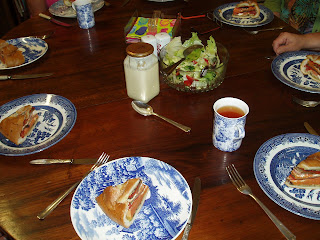
Mirboo Ladies love to stamp

Have you heard what my customers are saying?

Hi Teresa, Jill and I were talking on the way home about the great day we had, beautiful setting at Noeleens, lovely ladies, great food, and all the fantastic tips and tricks for making beautiful cards that you taught us, so many many thanks, your passion for stamping and creating is beautiful.

Till next time, Kind regards, Jenene Evans


Project Recipe

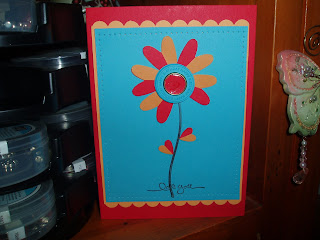
Flower Pot card
Supplies
Stamp What ever you would like to use for words
Card What ever colour you like
Accessories
scallop circle punch,1/2' circle punch scallop, edge punch, sticky strip, ribbon,paper snip, dimensional paper trimmer
Instructions
1 Flower Pot cut one 9' x 3 1/2 '
2 Score in landscape position at 2' and 5 1/2'
3 Fold the 2' score line in a mountin fold and the 5 1/2' score line in a vally fold
4 punch the edge of the 2' front with the scallop edge punch
5 to create the flowerpot shape, place the cardstock in the paper trimmer with the top 2' flap flipped up and bottom flap folded behind
6 Line up the 2' score line with the cutting track and the 5.1/2' fold line with the 1/2' mark on the trimmer.
7 place the cutting over the card and cut
8 turn cardstock and repeat.
9 cut for pocket insert C1 2 1/4' x 4 1/4 then cut C2 2 1/2 x 4 1/2 snail the card C2 to the bottom of card C1 this will be the insert piece attach flowers to top (you can cut your inserts to match the bottom of the pot and as long as you like )
10 stamp your sentiment on the lower portion.
11 for the flower you can use a flower stamp or use DSP and scallop circle punch you can have as many flower and leaver, as you would like.
12 with the paper snip cut up each scallop about 1cm after cutting dry emboss to help flower stand up
13 with the 1/2' circle punch. Punch out the centers for the flower.
14 tie ribbon around the top of the pot
15 insert card and arrange the flower and leaves with dimensional.

Small Wonders

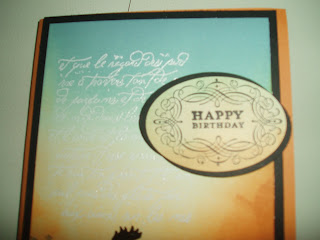
stamp set: inspired by nature, flight of the butterfly,whimsical words

ink: stazon black, bashful blue apricot appeal

card stock: bashful blue apricot appeal basic black whisper white

accessories: oval punch, scallop circle, punch, sponge, dimensionals

Step 1 Using the scallop circle punch as a template to do your sky with the sponge

Step 2 using the grass side of the inspired by nature stamp set and apply the stazon ink then stamp onto the card 1/2 way down.

Step 3 stamp out the butterfly in the apricot appeal on a small scrap whisper white card then cut around

Step 4 stamp onto the card in apricot appeal the butterfly where you wont it to be on your card using a dimensional place the cut out butterfly over the top.


Something Sweet Stamp Set Summer mini 2010

One Stamp set but lots of cards I love to have fun coming up with lots of diffrent ideas with one stamp set the something sweet is just that every card you make is just so sweet.


Friday, February 12, 2010

Rustic Rooster Hostess set

Hi today I have created this great rustic card using a Brayer Pg 156 white and black embossing powder wide oval punch a sale.a.bration Free stamp set Vintage Labels Basic Black,More Mustard, wisper White Card More Musted,Bordering Blue, Baja Breeze, Black Staz On Inks Stamp set Rustic Rooster, and snail paper cutter bone folder.
If you would like to know how to work a Brayer ask some friends if they would like to come to a Stampin' Up workshop Book your Brayer workshop with me today an learn the art of the brayer. Talk soon Teresa ENJOY YOUR DAY...


Rustic Rooster Hostess set

Hostess Level 2 Stamp Set Rustic Rooster

This is one of my favorites Hostess stamp set I have put together this great little card with this set first work out your card stock DSP Punches Inks Watercolor Wonder Crayons Aqua painter Snail paper cutter and you ready to make one too. If you haven't got this set There no better time and to book your workshop.If you don't have the time to have me around and show you the wonderful art of stampin then try a catalogue workshop today you can live any where in Australia and it will be delived right to your door for more info check out my Stampin Up Site
http://teresabrownstamping.stampinup.net/ or email me today tbrown@dcsi.net.au
or Ph: 0356236881 or 0409533925 Thanks for stopping buy... Will Place more tomorrow


Sunday, February 7, 2010

Children Scrapbooking

Join in and have fun with your Photos Layout and more at a scrapbook workshop or class.

When I do a scrapbook workshop I will always try to do a layout that you can add your photo to when you get home. I find that the ladies love this because they don't have to bring photos with them and they can enjoy just leaning different ways to use ink and stamping and go home with two 6' x6' beautiful layout
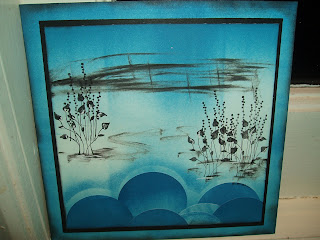
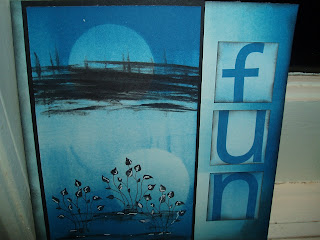
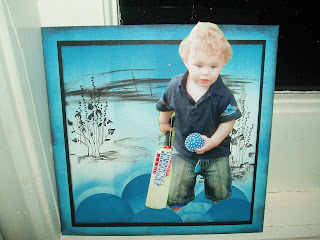
Take a look at the 6"x 6" Scrapbook layouts made with leftovers from workshops. I love to work with the Brayer it gives it a great background add a little masking for the moon add a reflection to the bottom of the page give it a silhouette look buy just using two colours and build up on the colour to create lighter and darker areas. Add you stamp I have used the Pocket Silhouettes Stamp Set page 72 code 115852 $33.95 from the 2009-2010 idea book & catalogue

Now this is the same as the top layout only I have added a photo of my grandson Jake. I love the simplicity of this layout This becomes my double layout with the fun page


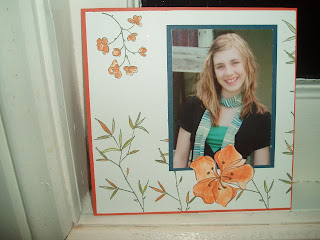
I had these flower left over from a card workshop the Stamp Set I used was Embrace Life page 83 idea book & catalogue 2009-2010 I also painted the leaves and flower with an Aqua painter pg 156 Stamping out in Staz On (pg 156) Black Ink let dry and paint with Real Rust and old olive inks pg 128. I have matted the photo of my Granddaughter Emily In handsome hunter card stock pg 128


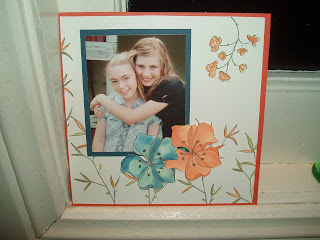
for the other side of my lay out I have keep the theme going adding two flowers one the same as other side and one painted in taken with teal also have matted my photo (Krystal and Emily)
in handsome hunter Card stock.


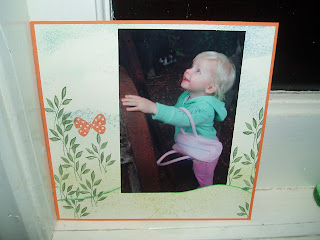
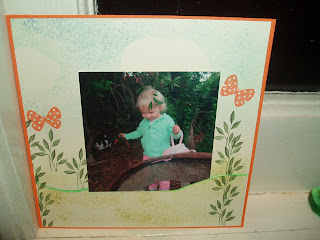
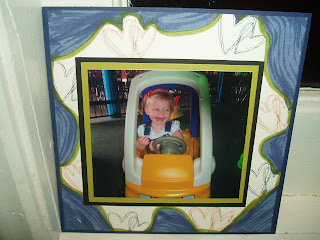
In the next two layouts below I have done sponging this is a really great way to use left over card stock and build a background for your photos as I have done with Bella I have chosen not to Matt these two photos as they are dark and I have done a light background. I have also added a a card stock at the bottom to look like hills then use my stampin' write marker to highlight the hills, Then cut out template for the clouds in the sky and sponge in pacific point and the ground in Kiwi kiss . Stamp sets Embrace life for leaves and Flight of the Butterfly pg 82-83 Inks always artichoke for leaves and tangerine tango for butterfly's


This second layout complements the fist so when their side by side it tell a story
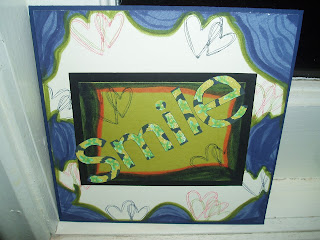
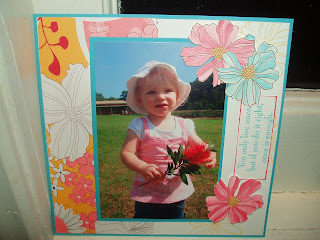
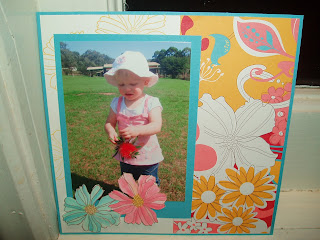
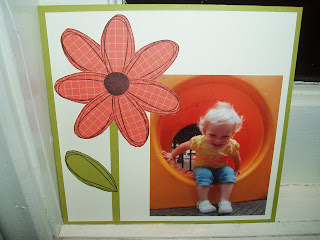
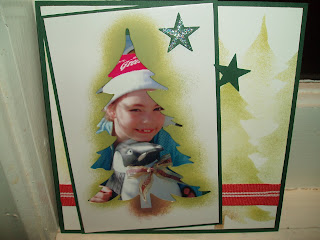
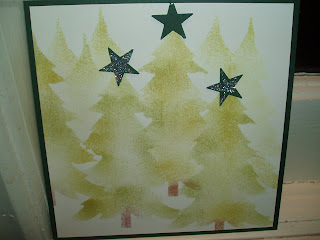
Markers are a great way to get diffrent backgroudsDesigner series paper (pg 132-135) is also a great way to bring in with some stamps use stamps as a embelishment as I have with the flower Bella having a great day in the garden this layout gos well together. Think about double layout and make a story for your scrapbooking. Stamping over DSP is an other wonderful way to bring your page to lfe Using the pick a petal Stamp set on pg 96 I have stamp over DSP to make this flower. Bellas day at the park. This side I done half a flower still works in well with the layout. Tempates: Templting is a anther great way for creating a background draw a tree all whatever you would like to do then use a craft knife and cut out put the peice your cut out aside and use the template by placing over your page and use a sponge and sponge with ink then move template along untill you have what you wont with sponging and to the deep of colour then place your photo behind your template as I have done with Krystal in photo below. Punch out some stars and and some two way glue and then Dazzling diamonds some ribbon and you have a wonderful page
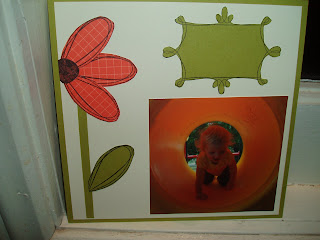
This side I have left photo off so you can see the efect I have done
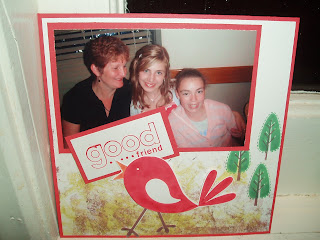
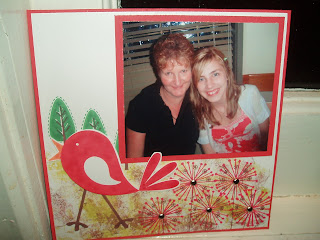
These two layouts are done on glossey white card and sponging the bird I have stamped out then cut around and using stampin'Dimensionals (pg 154) on the back this gives it a look that the bird is standing away from the page (hard to see in photo) the Stamp set is the Good Friend pg 99 and Trendy Trees pg 99 add some brads to this second layout simple but fun to do.
If you would like to book into my scrapbook classes or would like to book me to do a scrpbook workshop please call me on 0356236881 or check out my new Stampin' Up! site to see what classes are coming up and you two can do one of the above classes or workshop.